If you are experiencing slow or inconsistent Wi-Fi performance on your TP-Link router, it may be time to update the firmware. Firmware is a set of software instructions that control the functions of your router, and updating it can help to improve performance and security.
Upgrading the firmware on your TP-Link WiFi router is important for several reasons:
Security: Firmware updates often include security patches and bug fixes that can protect your router from potential vulnerabilities and threats.
Improved Functionality: Firmware updates can also add new features and improved performance to your router, such as better network stability and faster internet speeds.
Compatibility: Upgrading the firmware can help ensure that your router is compatible with the latest devices and technologies, such as the newest smartphones and smart home devices.
Stability: Sometimes routers can encounter stability issues or performance problems, which can be resolved through a firmware update.
Here is a step-by-step guide on how to upgrade the firmware on your TP-Link Wi-Fi router.
Step 1: Check the Model and Version of Your Router
Before upgrading the firmware on your TP-Link router, you need to know the model and version number. You can usually find this information on a label on the bottom of the router or in the router's user manual. Make sure to write down this information before moving on to the next step of the firmware update TP-Link router process.
Step 2: Download the Latest Firmware from TP-Link Website
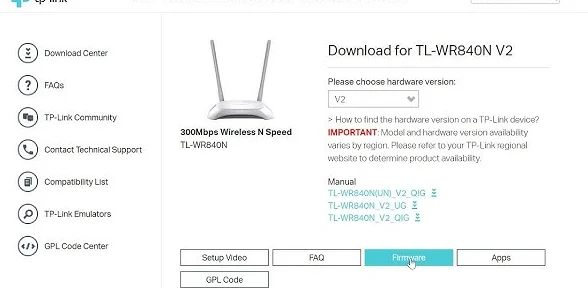
Once you have the model and version number of your TP-Link router, go to the TP-Link website and search for the firmware update tp link that corresponds to your router. You can download the firmware file from the support section of the website.
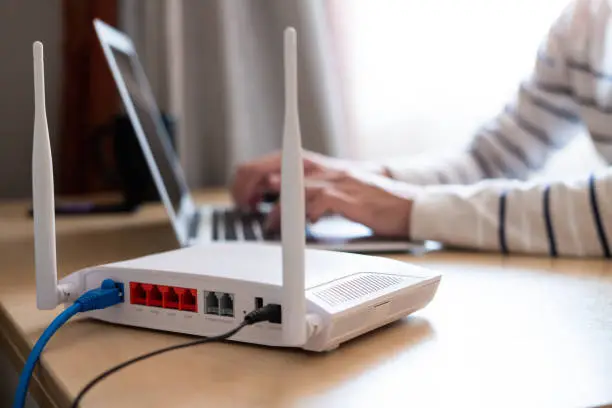
Step 3: Connect to the Router
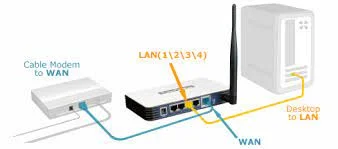
Connect your computer to the TP-Link router using an Ethernet cable. Make sure that your computer is directly connected to the router and not to a Wi-Fi extender or any other network device.
Step 4: Access the Router's Web Interface

Open a web browser on your computer and type in the IP address of your TP-Link router. This address is usually 192.168.0.1 or 192.168.1.1, but it can vary depending on the router model. Enter the username and password to log in to the router's web interface.
Step 5: Upgrade the Firmware

Once you are logged in to the router's web interface, navigate to the System Tools section and click on the Firmware Upgrade tp link option. Click on the Browse button and select the firmware file you downloaded earlier. Click the Upgrade button to start the firmware upgrade process.
Step 6: Wait for the Upgrade to Finish
During the firmware upgrade process, do not turn off the router or unplug the Ethernet cable. The upgrade process can take a few minutes, and the router will restart automatically when it is finished. Once the upgrade is complete, log back in to the router's web interface to verify that the new firmware version is installed.
In conclusion, upgrade the firmware on the TP-Link wifi router is a simple process that can help to improve performance and security. Make sure to follow the above steps carefully to ensure a successful upgrade.
How to Setup TP-Link AX1500 Wifi 6 Router?
21 Jul, 2026
How To Setup TP-Link Archer AX55?
21 Jul, 2026
How To Fix Orange Light On Tp Link Router?
21 Jul, 2026Copyright © 2026 Router Support 247 | all right reserved.
DISCLAIMER : Router Support 247 is an independent Technical Support Provider. We are not affiliated to any 3rd party brand unless specified. Call vendor for direct Support.
Top Searches in TP-Link Support