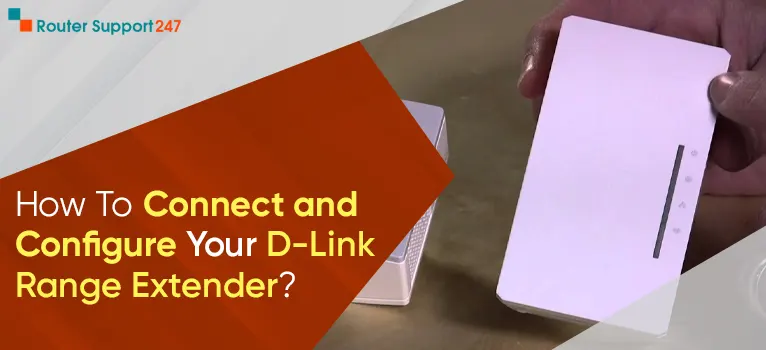
Wi-Fi today has become a preferred source for availing the internet connectivity but many a time router individually might not be sufficient enough to provide the comprehensive internet coverage.
So, to increase and enhance the coverage of the internet you may opt to connect and configure your D-Link Range Extender with the router as prescribed by this quick guide.
Step 1 - With a view to connect and configure your D-Link Range Extender you must first power charge the D-Link Range Extender using the adapter and then switch the extender on and should wait subsequently for allowing the initializing process of extender to get stabilized.
Step 2 - Until the initializing process is accomplished you must place the D-Link Range Extender in the vicinity of the primary router.
Step 3 - Here you ought to be creating a link between the Wi-Fi device and the D-Link Range Extender using the existing Wi-Fi network. To get this done, you will be required to have a default password which you can retrieve using the D-Link manual.
Step 4 - Now after opening the web-based interface of your device just punch in https://Dlinkap.Local or http://192.168.0.50 in the given address bar and press the Enter button.
Step 5 - Consequently, the D-Link Extender login page will start appearing wherein you have to put in the login details in a bid to get the access.
Step 6 - In case the login details have been caused to change then reset the login details to restore to the Factory Default and attempt again to log in and gain access which will be a step forward to connect and configure your D-Link Range Extender.
Step 7 - When the login mechanism materializes you can go altering the settings in a bid to connect and configure your D-Link Range Extender going forward.
Step 8 - Continue by choosing the network of your main router and once the link has materialized you can go on to change the name and code for various security considerations.
Step 9 - By reviewing the D-Link Extender’s signal strength you can select the most appropriate place for the positioning of your Range Extender.
Step 10 - Also remember to update the Extender’s firmware and your D-Link router with the latest version.
Step 11 - Finally, to check the process to connect and configure your D-Link Range Extender you can connect different devices to the Wi-Fi via the D-Link Range Extender’s coverage.
Step 1 - First place your Range Extender in the correct location to harness the best network and signal from the primary router.
Step 2 - Make sure that you have removed all obstacles and objects to avoid any possible interference.
Step 3 - Verify the Power source and see that there is availability of a stable power supply. If you are using extension cords then ensure seamless transmission of electricity through cables else the connection might get interrupted.
Step 4 - You should be having true knowledge about the D-Link Range Extender’s IP and Web address.
Step 5 - You can opt to have a wired connection if the wireless signal is not that strong.
Step 6 - Always enforce the latest and updated firmware for your Range Extender and Router.
Step 7 - Always keep in mind that correct SSID details for your router and extender are necessary.

How To Reset Dlink Wi-Fi Extender?
21 Jul, 2026
How to Fix D-Link Router Slows Down Internet Speed?
19 Jul, 2026
How to Change a D-Link Wireless Password ?
21 Jul, 2026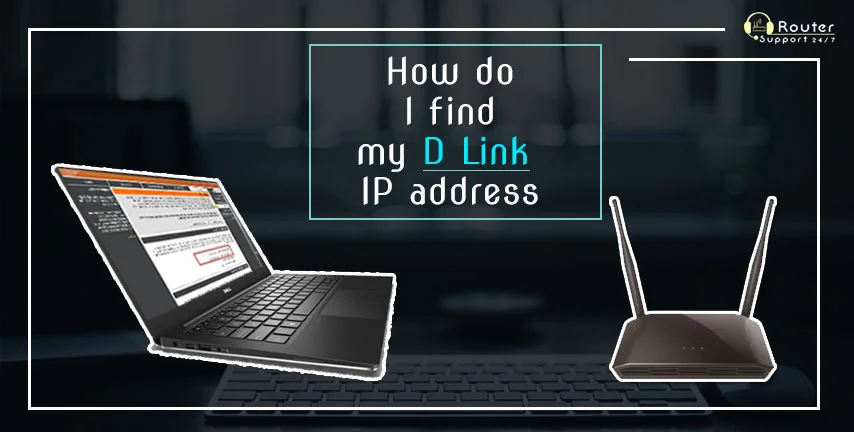
How do I Find My DLink IP Address?
19 Jul, 2026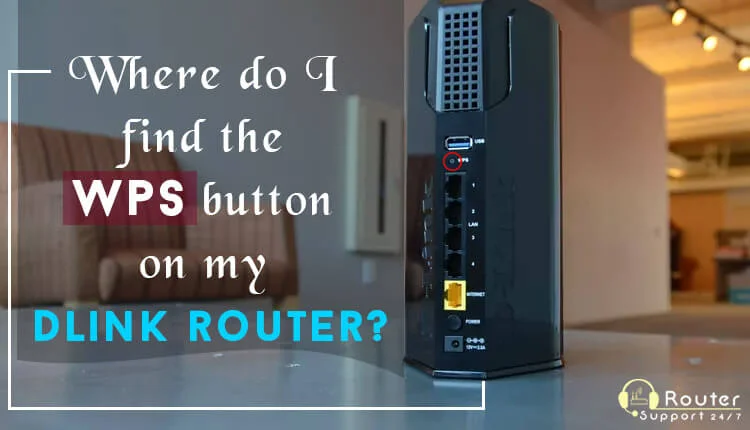
Where do I Find the WPS Button on My Dlink Router?
19 Jul, 2026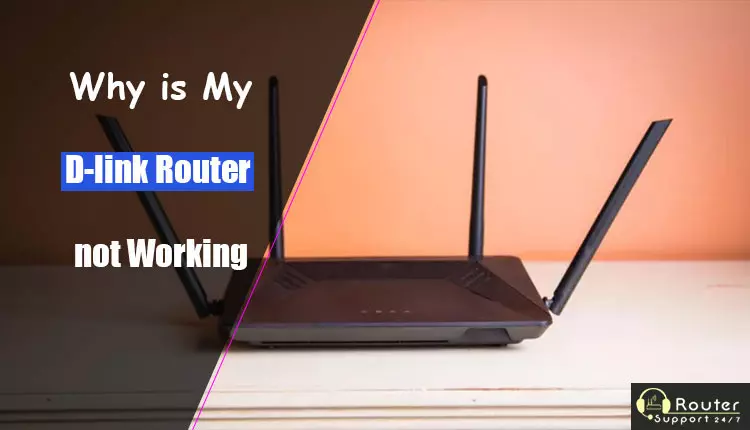
Why is My Dlink Router Not Working?
21 Jul, 2026Copyright © 2026 Router Support 247 | all right reserved.
DISCLAIMER : Router Support 247 is an independent Technical Support Provider. We are not affiliated to any 3rd party brand unless specified. Call vendor for direct Support.
Top Searches in D-link Support