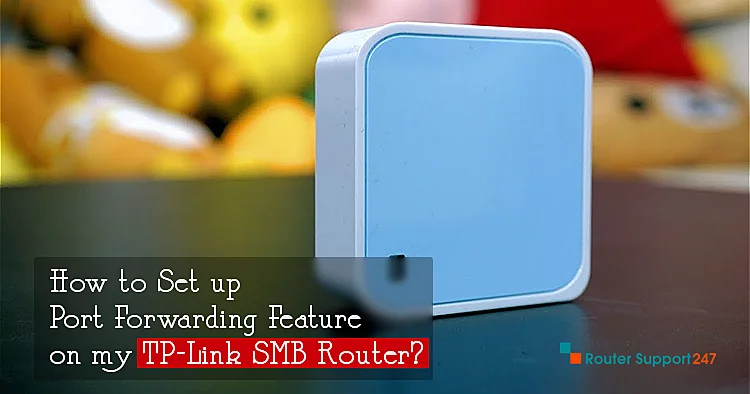
If you wish to learn how to set up port forwarding setting on your TP-Link SMB router, then carry out the simple steps mentioned below.
Step 1: Launch your web browsers and then enter the IP address of your router in the location bar of your web browser and then hit the enter key.
Step 2: Now, you will be redirected to the login page. Enter the login credentials. The default username is admin and the default password is also admin.
Step 3: After that, the setup page will open up. Select Forwarding and then choose Virtual Servers given on the left side. Then, select the Add New button.
Step 4: Enter the service port that you wish to open. Also, enter your computer's IP address. After that, choose Protocol to ALL, UDP, or TCP. Then, change the status to enabled.
Step 5: Now, save the settings by clicking on the Save button.
Step 1: Launch your internet browser and then enter the default IP address 192.168.0.1 in the location bar of your web browser and then hit the enter key.
Step 2: Now, the login page will open up. There, you need to enter the username and password. Enter admin in the username as well as the password section. Then, click on login.
Step 3: After that, go to Advanced, NAT, and then finally select Virtual Servers on the left.
Step 4: Fill the empty boxes of Name, Internal Port, External Port that you want to open. After that, select Protocol, enter the internal server IP address, and then select Activate.
Step 5: Now, click on Add.
How to Setup TP-Link AX1500 Wifi 6 Router?
21 Jul, 2026
How To Setup TP-Link Archer AX55?
21 Jul, 2026
How To Fix Orange Light On Tp Link Router?
21 Jul, 2026Copyright © 2026 Router Support 247 | all right reserved.
DISCLAIMER : Router Support 247 is an independent Technical Support Provider. We are not affiliated to any 3rd party brand unless specified. Call vendor for direct Support.
Top Searches in TP-Link Support