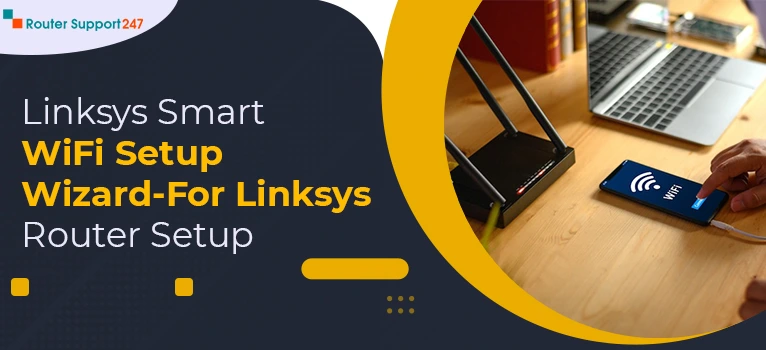
For seamless internet connectivity, it is always preferable to effectuate the Linksys Smart Wi-Fi Setup Wizard as the process for getting this done is really very simple and schematic. In this context, this quick guide reveals how you can materialize the Linksys Smart Wi-Fi Setup Wizard
1 - First you require a Linksys Smart Wi-Fi router.
2 - The other essential component for effectuating the Linksys Smart Wi-Fi Setup Wizard is the RJ-35 cable.
3 - A PC with an updated internet browser installed thereon is also necessary.
4 - A stable internet connectivity is also a must-have.
Step 1 - When you are venturing out to expedite Linksys Smart Wi-Fi Setup Wizard you must begin by switching off the modem for a while.
Step 2 - Next you must connect the devices by taking an Ethernet (RJ-45) cable and inserting the same into the LAN port followed by placing its other end into the Internet port of the Linksys router going forward.
Step 3 - Now cause your modem to turn on followed by integrating external antennae to the router.
Step 4 - Continue by plugging the power adapter directly into the wall socket and turning on the same.
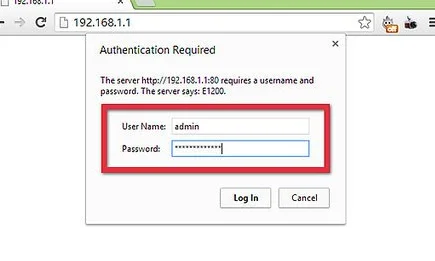
Step 5 - Here at this stage you ought to connect your PC to the router’s network. Please note that you can check the Linksys Smart Wi-Fi router’s SSID and password in the “Quick Start Guide” manual provided along with or you can also see the bottom of the router to know the SSID.
Step 6 - At this moment you must open an updated and compatible internet browser after connecting to the internet.
Step 7 - Now punch in “linksyssmartwifi.com” in the address bar and hit the “Enter” buttons which will definitely be a step forward to facilitate the Linksys Smart Wi-Fi Setup Wizard.
Step 8 - Consequently, Linksys Smart Wi-Fi Wizard will be launched after which you have to agree to the terms and conditions and click the “Next” button.
Step 9 - Here you can either select using the Setup Wizard or you can bypass the Setup Wizard by executing the proceedings manually followed by clicking the “Next” button thereafter.
Step 10 - As a result of the above steps a new window will open up which will showcase the “Updates” for the router. Afterwards, you can select the “Auto” update option or you can also opt to effectuate manual updates.
Step 11 - Now you can continue assigning your Linksys router a preferred Wi-Fi name along with a strong password. Then, click the “Next” button. You can desirably opt to have the same name for all Wi-Fi bands as well.
Step 12 - In a bid to accomplish the process to set Linksys Smart Wi-Fi Setup Wizard you must now re-connect your computer to the Wi-Fi using the new Wi-Fi name and password going forward.
Step 13 - Finally, continue creating an admin password for the Linksys router and click the “Next” button which will eventually complete the proceedings to facilitate the Linksys Smart Wi-Fi Setup Wizard.

How to Connect Nintendo Wii to the Internet?
21 Jul, 2026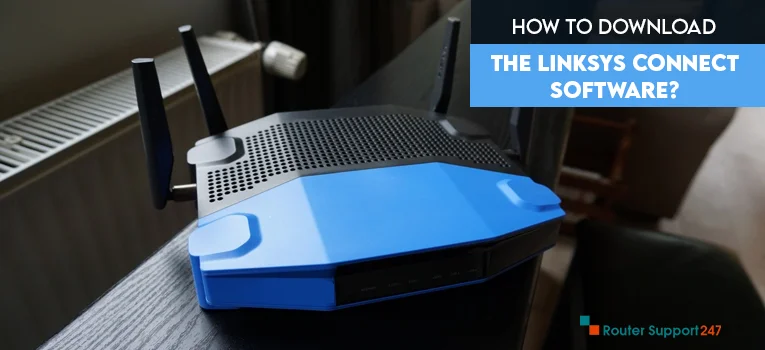
How to Download the Linksys Connect Software?
20 Jul, 2026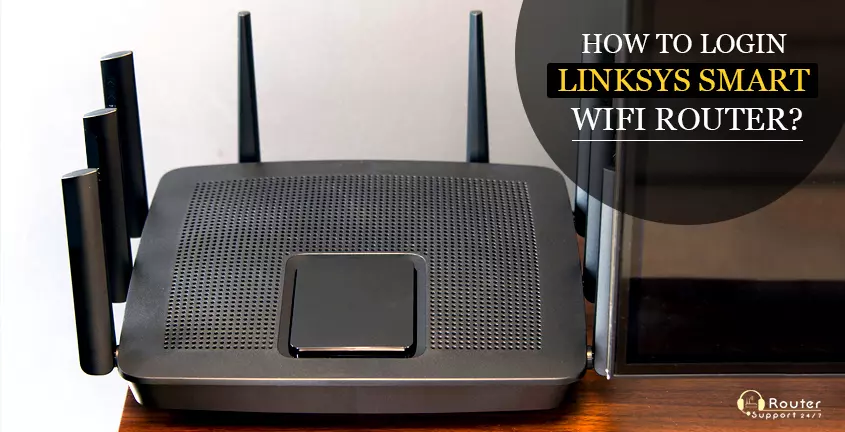
How to Login Linksys Smart WiFi Router?
21 Jul, 2026
How to Resolve NAT Type Issues with Gaming Consoles?
21 Jul, 2026Copyright © 2026 Router Support 247 | all right reserved.
DISCLAIMER : Router Support 247 is an independent Technical Support Provider. We are not affiliated to any 3rd party brand unless specified. Call vendor for direct Support.
Top Searches in Linksys Support