Today I am going to tell you How to Change Your Netgear Wireless Router Settings and how to complete the full process. The Internet is a great thing in our life as we are constantly connected with this medium and getting to know what is happening every day and every time. The Internet is a great useful tool and today we are dependent on this network to get the latest information.
Today we surf the internet through our mobile devices or laptops through the use of wireless routers. These routers are the connection mediums between the internet and you. But sometimes we face some issues in these routers and if you are facing the problem and want to know how to change Netgear Router Settings. Then I am going to provide you the fix.
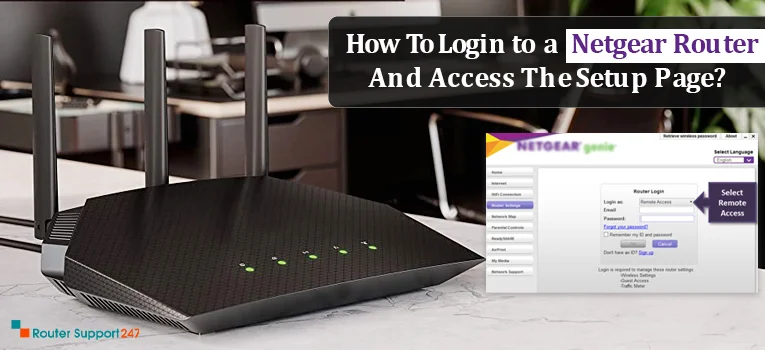
Step 1: First you need a computer to access the settings of the router. Switch on your computer and then you need to go to a certain browser whether it’s Google Chrome, Mozilla Firefox, Microsoft Edge or Internet Explorer.
Step 2: If you are searching for the page where you will search for the Netgear login page, then go to the search option of and type 192.168.1.1
Step 3: Then the Netgear login page will appear in front of you. In this login page, you will see two fields that are filled with Admin and Password.
Step 4: The general admin is “admin” and password is “password”. Fill this information into the fields that are required.
Step 5: After filling up these fields you need to click on the Login button.
Step 6: Then you need to follow the steps under which you can change the Wi-Fi name and Wi-Fi password. These settings are required to be changed for security purposes and save yourself from hackers.
Step 7: For that, you need to go to the Advanced option. Under that, you will see the option of Setup Tab on the left side. Then click on Wireless Setup.
Step 8: After that click on Security Options, then you can change the account settings. Now change the Wi-Fi name and password according to you. Do remember to make a secure password for security reasons. Then click on apply.
After purchasing Netgear router you need to take the router out of the box, plug the router to the power source, connect other cables and connect the router to the device and start using the internet. It is not that simple. After removing the router from the box and plugging the router to the electricity source. Then you need to change the wireless network settings in the Netgear router.
These wireless network settings in this router have been in default mode when we connect to the internet and if you connect to the internet using these settings then you cannot connect to the internet. So, you need to check the settings first and then connect to the internet according to your Internet Service Provider.
Netgear is a company that is based in San Jose in the state of California. California is situated in The United States of America. Netgear is a multinational networking company. The company has three segments in which operate for service providers, businesses, and consumers. Netgear covers a big variety of things that include Wi-Fi and LTE, power lines and Ethernet with the main focus of ease of use and reliability.
This is How to Change Your Netgear Wireless Router Settings.

What Do I Need for a Mesh Network?
21 Jul, 2026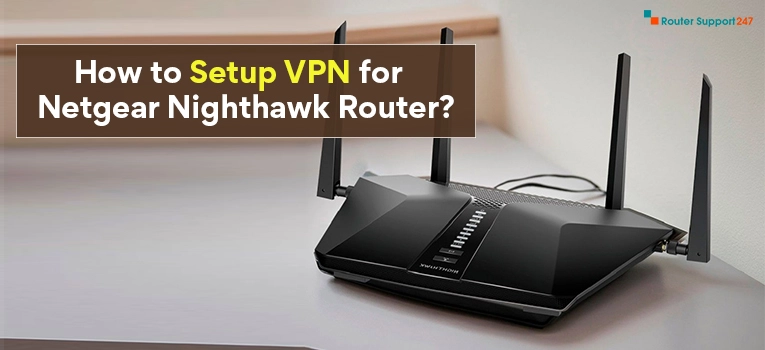
How to Setup VPN for Netgear Nighthawk Router?
20 Jul, 2026
How do I Use the WPS Wizard on My Nighthawk Router?
20 Jul, 2026Copyright © 2026 Router Support 247 | all right reserved.
DISCLAIMER : Router Support 247 is an independent Technical Support Provider. We are not affiliated to any 3rd party brand unless specified. Call vendor for direct Support.


Top Searches in Netgear Support