A router is a gadget on your network that joins every single home network device in your residence with your Internet Service Provider or ISP. Routers are critical to your residential or workplace network system because they are in control of a sizeable segment of your network security.
When attached to your wireless gadgets, they transfer your data in and out of your network. In short, you can consider routers to be the center of your residence or office network.
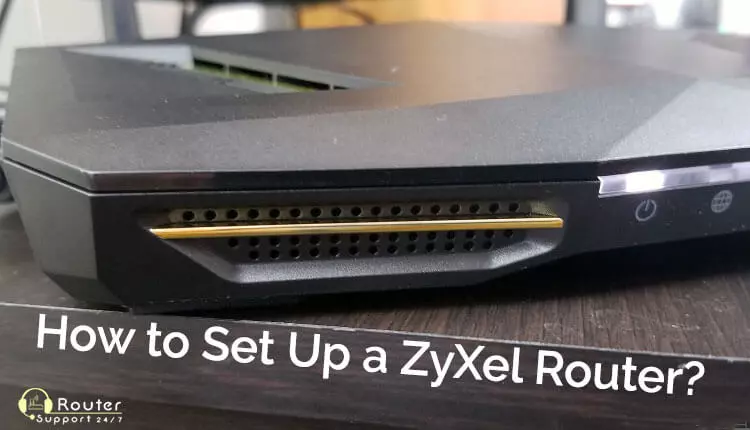
When you have a brand-new ZyXel router and want to set up a ZyXel router in a safe and sound way, you must build a basic framework for your device. In most cases, it is a clear-cut method, and you can start using your ZyXel P-600 Series or a ZyXel wireless modem in roughly ten minutes.
On the whole, nearly every setup sorts out addresses, modifying the SSID and wireless password. It is not necessary to alter the central part of the settings unless there are compelling reasons for doing so.
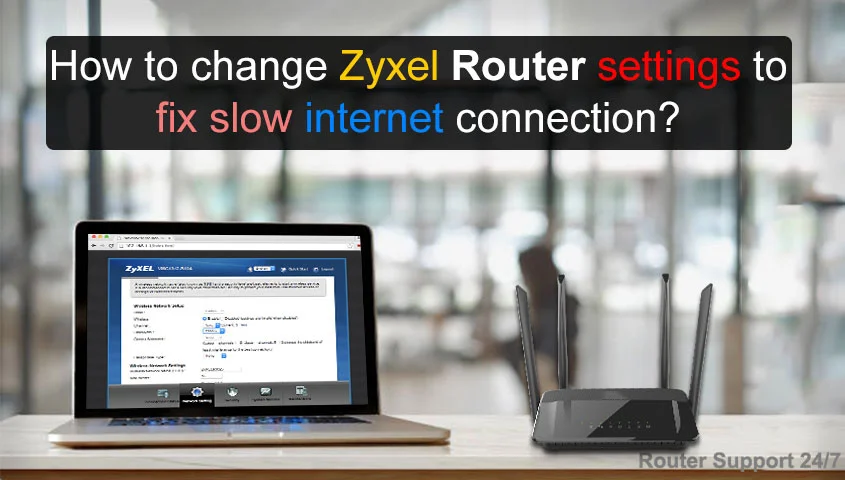
Generally, the bulk actions of the set up of a ZyXel router procedure occurs on the web configurator. As it is an online portal, it permits you to modify your security particulars like the name of your network, additional settings, etc.
Step 1: On a small number of devices like the Zyxel WAP7205, you can utilize the "Zyxel setup" page; key in "http://zyxelsetup" in the URL bar of your browser.
Step 2: Nevertheless, entering Zyxel router IP address "192.168.1.1" as the URL is a highly reliable way to do this as it is the accepted internal IP address for ZyXel routers.
Step 3: In the beginning, you will be prompted to write Zyxel router username and password. For the username, write "admin" and for the password, write "1234" (both minus quotation marks).
Step 4: In case this tactic is not successful, examine the backside of the router for an additional internal IP address or different login specifics.
Step 5: The system will prompt you to alter the password the minute you Zyxel router log in; you can either modify the password or click "Ignore" to maintain it as "1234."
The initial phase of the set up a ZyXel router deals with joining all the necessary cables.
In the Zyxel router configuration web page, you can alter nearly all the settings.
Copyright © 2026 Router Support 247 | all right reserved.
DISCLAIMER : Router Support 247 is an independent Technical Support Provider. We are not affiliated to any 3rd party brand unless specified. Call vendor for direct Support.
Top Searches in Zyxel Support