Tenda nova mw6 is a dual-band distribution mesh Wi-Fi system that brings your home of offices full wireless coverage. Tenda nova contains three units, which need to put in the proper place as per the installation guide or instruction is shown on the screen of Wi-Fi App to address your wireless network requirement.

First, you need to connect your mobile device with mobile data or an available Wi-Fi network to download Tenda Wi-Fi application
For Android Users: You can start to search for the Tenda Wi-Fi application in the Google play store or you can use WeChat or use any web browser to scan the QR Code, which is given in the installation guide.
For iOS User: You can search out this Tenda Wi-Fi application in Apple app store or you can use WeChat for scanning the QR Code which comes with the installation guide.
Note: You cannot start your nova unit setup until you are not connected with wireless network. After establishing successful network, your mobile phone is not able to access the network for a specific period of time.
Step 1: First, you need to run the Tenda Wi-Fi Application, The setup wizard will appear against you then you need to click on the setup button.
Step 2: This application will detect your internet connection information automatically like connection type. Now you need to enter information as per the Connection type, which this app already fetched and click on ‘next’.
This nova unit is now connected to the internet and this app allows you to process at the next step. If your connection type is PPPoE, then you need to enter your PPPoE user name and password. After entering all these details, you need to proceed on the next steps.
Step 3: If your internet connection type is dynamic IP, then you will see a different setting page against you.
Step 4: If your connection type is static IP, then a different settings page appears against you with some details like IP address, Subnet Mask, Default Gateway, Preferred DNS Server. You need to fill in all these necessary details and click on the Next button.
Now you need to set your network name and password for your Nova unit, fill the username in the username field and password in the password field.
Note 1: Your password should be 8 or more than 8 characters
Note 2: If you change in wireless network username and password and ok, then your mobile phone gets disconnected from Nova wireless network. You need to reconnect your phone with a wireless network by using a new username and password.
When the LED light turns blue in your Nova unit, this ensures that your Nova unit is connected to the internet.
Note: You need to place Nova in open area for better connectivity or keep it within two room’s equal range.
You can setup your third Nova as you have done with your second Nova by putting it at proper place, supply power and wait for the LED light turns blue to ensure established connection successfully. Now you app is showing three nova unit.
These are the step by step instructions to setup Tenda nova mw6.
How To Setup VPN Connection On Tenda Routers
21 Jul, 2026
How to Set up a Tenda Access Point as a Repeater?
20 Jul, 2026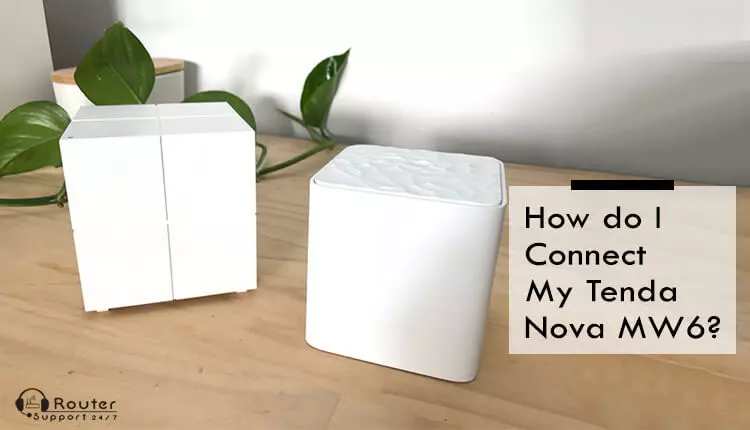
How Do I Setup Tenda Nova MW6?
21 Jul, 2026
Tenda Router Not Detecting Internet Connection?
20 Jul, 2026Copyright © 2026 Router Support 247 | all right reserved.
DISCLAIMER : Router Support 247 is an independent Technical Support Provider. We are not affiliated to any 3rd party brand unless specified. Call vendor for direct Support.
Top Searches in Tenda Support